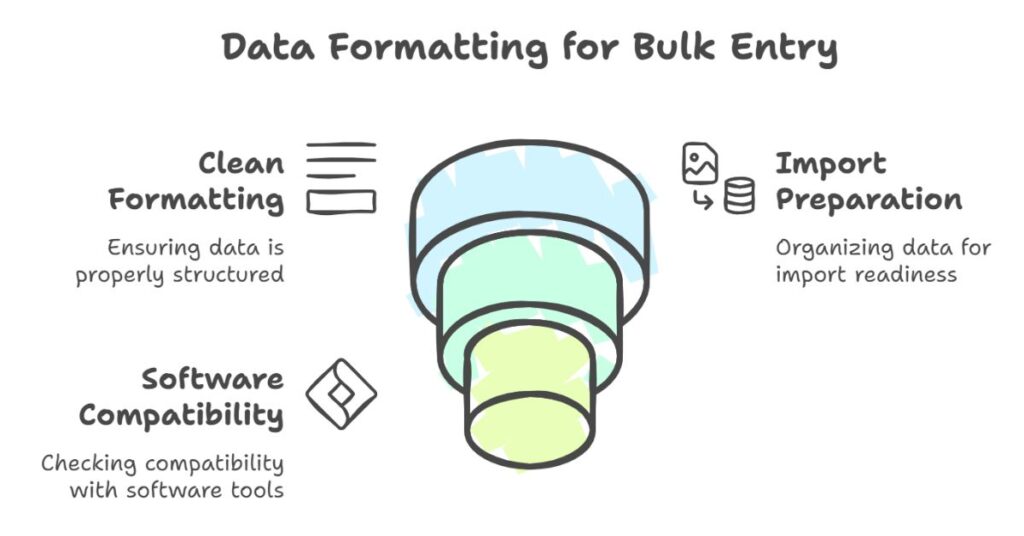
How to Format Text for Bulk Data Entry
Use this tool to convert line-based raw text into a structured format suitable for bulk data entry. The converter separates entries using commas and line breaks for readability.
Table of Contents
As a Computer Science engineer working in the IT industry, I often deal with large sets of raw data. Bulk data entry is a common task in many applications like CRM systems, spreadsheets, or SQL databases. Clean formatting is essential before importing or processing that data. Without proper formatting, software tools may reject the input or cause data corruption.

In this article, I will explain step-by-step how to format text for bulk data entry using proven techniques.
Why Clean Formatting Matters
Many tools, such as Excel, Google Sheets, SQL databases, or ERP software, require structured input. They do not handle inconsistent formatting well. When text entries have missing separators,
Step 1: Choose a Clear Separator
The first step is to pick a consistent delimiter. A delimiter separates different data fields in each line. The most used delimiters are:
- Comma (
,): Common in CSV files - Pipe (
|): Often used in text files - Tab: Preferred in TSV files
Make sure each line uses the same separator. Do not mix commas and pipes in the same file. For example:
CorrectJohn Doe, john@example.com, 1234567890
IncorrectJohn Doe | john@example.com, 1234567890
Step 2: Use a Consistent Format for Each Line
Each line in the text must follow the same pattern. For example, if your format is Name | Email | Phone, then every line must follow this order. This ensures that software tools map the data correctly.
Example:
Alice Smith | alice@example.com | 5559876543
Bob Jones   | bob@example.com   | 4441237890
Avoid adding extra columns or leaving blank fields without a placeholder.
Step 3: Remove Extra Spaces
Extra spaces before or after values can break the structure. Use a text editor or script to trim the text. For example, change:
John Doe | john@example.com | 1234567890
toJohn Doe | john@example.com | 1234567890
You can use tools like Notepad++, Excel, or online formatters for trimming.
Step 4: Standardize Capitalization
Use consistent capitalization across entries. Either use all lowercase for emails and names, or follow proper case formatting. This improves readability and reduces errors in systems that are case-sensitive.
Example:Jane Smith | jane@example.com | 7896541230
is better thanJANE smith | JANE@EXAMPLE.COM | 7896541230
Step 5: Validate Special Characters
Remove or escape special characters that may break the import process. Some software tools do not allow characters like &, %, $, *, #. Check the documentation of the target system to confirm allowed characters.
Also, avoid inserting double quotes or extra commas unless required. These may break CSV formatting.
Step 6: Convert to CSV or TXT Format
Once your data is structured and clean, save it in a suitable format. Use .csv if you are importing into Excel, or .txt if you plan to use a custom parser.
Example CSV:
John Doe,john@example.com,1234567890
Jane Smith,jane@example.com,9876543210
Make sure you do not save your file in a rich text format. Use plain text only.
Step 7: Use a Formatter Tool
If you have raw data, you can use a web-based formatter tool to structure it automatically. For example, you paste your data in one box, and the tool converts it into CSV or pipe-separated format. This method saves time and avoids human error.
A simple formatter can:
- Split text using a symbol like
| - Trim each entry
- Replace separators
- Format lines with line breaks (
<br>)
Look for tools that allow copy, paste, save, and refresh options.
Step 8: Preview Before Importing
Before uploading data into a system, preview it in Excel or a text viewer. This helps catch errors early. Look for:
- Empty lines
- Misplaced fields
- Wrong separators
Fix any issues before final import.
Step 9: Save a Backup File
Always save the original and formatted versions of your data. This helps in case you need to restore or correct data later. Use clear filenames like:
raw_data.txtformatted_data.csv
Store backups in a versioned folder or shared drive.
Step 10: Follow Data Entry Rules of the Target Platform
Each platform has different rules for importing data. For example:
- Excel treats commas as field separators
- SQL needs fields in
''or"" - CRM tools need headers
Check the platform documentation or import wizard for guidelines.
Keywords to consider from SERP:
bulk text formatter, format data for Excel, import-ready data, pipe separator, CSV formatting, clean raw text, prepare data for database, export-ready text.
Final Thoughts
Formatted text helps IT systems read and process data without errors. As a CSE engineer, I follow strict formatting rules to ensure clean input. Use consistent separators, avoid extra spaces, and preview before importing. Whether you handle data in Excel, SQL, or APIs, clean text formatting makes the process faster and more reliable.
By using these simple steps, anyone can prepare clean and structured text for bulk data entry. If you format the data well, your imports will run smoothly and require fewer corrections.
Leave a Reply